Showing posts with label operations. Show all posts

Tuesday, December 18, 2012

This Float's For You, Part Deux (or, "So you still want to know more, huh?")

      Well, hopefully, you’ve come back to read a little more. Hopefully by now, Riley has read Part 1, and is anxiously awaiting Part 2, or so I can hope. In this installment, we’ll be covering the locking “mechanisim” I built to lock the floats in place, and also the operation of the float bridges themselves.

       So like I said, we left off at the carfloat and their cart at the float bridges, so now let’s take a  look-see at the "how do I lock 'em in" question. I needed something robust to handle the stresses involved, just like the real railroads used (and still do) in order to deal with the rough handling that they would encounter both in the real and model worlds. While the railroads use rope lines to tighten the carfloat sung up to the bridges, the main appliance of “first defence” of dealing with the horizontal (right/left) and vertical (up/down) forces are something which resemble a giant set (or sometimes two sets) of locking pins that are called toggle bars (or pins), as seen below –


      Now, there are PLENTY of nice scale toggle bars (and pockets that they slip through) cast out of white metal or other materials out there on the market, but again, fast and dirty won the day, and I wanted something robust and more importantly, easy to make. Plastruct to the rescue! -


      I built them using square tube, with a smaller diameter stock slipped inside that, and a piece of flat styrene strip as a base plate. I made the inner "toggle" long enough to poke out both ends of the "pocket" and then long enough to span the "float" and "bridge" by about 1/4 an inch, or enough to grab. Once glued down in place, I simply sliced it in the middle, ensuring a perfect plumb fit to each end when “docked”. Now, to keep the pin from pulling out of the pocket, I drilled through the entire construct to fit a locking pin (actually, much like the prototype did, too), thus locking it in place, and preventing you from pulling the float away from it’s landing. In the real world, these bars were ratcheted into place, but that's one thing I didn’t have to replicate here! Also, they could adjust the rails right left with another ratcheting device, but that's where the rail joiners (as also seen in the above photo) come in, keeping those tracks in perfect alignment. Until we institute actually moving carfloats, this keeps things locked up tight and derailment free!
      The real carfloats and float bridges suffered years of relentless beating in the course of being used, and that kept things from lining up correctly after a while. I actually have the same problem on my two back float bridges (1 and 1A), and that’s because the carfloats and the float bridges were built separate of each other, keeping the tolerances from being less than perfect. In yet another example of NOT taking pictures of a work project, it took us a few hours of “massaging” the floats and the bridges to allow cars to move slowly from one set of rails to another. My point in all this being, is that the ratcheting of the rails (as seen below) is accomplished by slightly nudging the float bridges to get the rails to line up better.

Aligning the rails on 1 bridge, Jersey City 1974

The construction of the back two pairs of contained apron bridges prevent the use of the rail joiners between them and the Walthers 3-track floats to lock things in place. As can be clearly seen, the left hand tracks are aligned, the right, not so much. But a slight "finger ratcheting" of the bridges takes care of that. Not perfect or elegant, but it works.

    So far, I’ve only been talking about how the carfloats were built and will be operated, but not about the other half, the float bridges themselves. There are particular physical movements to both types being modeled, at least in the real world, and that does bear some mention, as there is a factor of operation to them that can be modeled. If you are following this blog, I’ll assume you are at least moderately familiar with how the electric, or contained apron and the wooden, or pontoon float bridges were constructed and/or how they operated, so I won’t go into exacting detail. I will explain however, that the two types of bridges are/were mechanically different in how they were raised and lowered. To simulate this (and again, add some “play value”), my original “grand plan” was to add a spring suspension to them to simulate the compressive actions (up and down due to the weight of the cars) upon them, and the carfloats as well, in order to replicate the list as cars were pulled on and off. Well, this is all fine and dandy, but there are great problems with that idea when you don’t exactly take your time and build things to exacting detail like I admit I did. ‘Tis far better to have operated smoothly than to never have operated at all, I have become fond of saying! And that's what would have happened if I had tried this, of that I am sure. So with that being said, these "weight differential" actions must be simulated within the "theatre of the mind", but it can be done! Though part of this borders on operations (the subject of Part 3 in this ongoing series!), it does bear some mention here.    
      There are two ways I can simulate proper prototype loading and unloading practices, one being pretty easy for most people to grasp and not bellyache over too much, if at all, and that's using a reacher gondola, as seen below -


      As you can see, the gons has extra-large steps for getting on and off the car (presumably while moving, albeit slowly) and seating for the brakemen to ride the cars back and forth thru the yard, and the body of the car was weighted down with some sort of ballast to provide enough downward force to, in essence, "sink" the float bridge when it was riding high in the water (more an issue with the wooden pontoon floats than other types) to meet the level of the carfloat. Some railroads like the LIRR and Erie had little "doghouses" on a flat car, as opposed to a gondola. Regardless, the railroads used these cars to keep the engine, as much as possible, off the float bridge aprons, though it was not completely forbidden to do so, but rather just smart operating practice. The sudden braking of an engine could very easily snap the mooring lines and cause a float to pull away from the bridge, or worse yet, cause a mechanical failure, causing the steel work to skew and wrench, causing a catastrophic failure as seen below -

And they were even using a reacher car!

      So the point being, you can (as I do) have the crews use a gondola, and until I model one of them faithfully as seen the second of the two gondolas above, an Ertl gondola fits the bill just right, as the gons used in my era were small 34 footers, and not the larger 50 footers used in the later years.......


      And the other way to simulate proper loading/unloading of a float is to double on and double off the cars, and not just pulling everything all at one time, because in the real world, that would be a recipe for causing the float to capsize as all the weight shifted to one side. Instead of trying to explain this procedure, I will instead direct you to the following website that has a very good step-by-step diagram of this "dance" -

     
      So by doing the above "operations", one can simulate the realistic actions, if not the actual stress forces that are present in the operation of the real thing, even to this very day.

      So having witnessed switching carfloats at my pal Dave Ramos’ layout, I have come to realize that not only is switching a carfloat just a small part of the bigger picture, but also that because of that fact, I don’t miss the sight of the bridge OR the float bobbing up and down, listing port to starboard. As good as our standards for our car fleets may be, and our track perfectly aligned, the fact is that our models don’t behave like their 1:1 counterparts, and are far less forgiving in their tolerances. Thus, it’s just as well that things stay FIRMLY connected to the  “water” that they “float” in! In a larger scale like O, this might be something achievable, but in HO, I think that unless you are a watchmaker who is accustomed to working with delicate moving parts, I think this is something best left alone!

      Well, once again I've gone on a bit too long, but I can't help it! Since I also want to talk about the paperwork and how the operators will staff the carfloat staging as well as switch them, there will be a Part 3 in the very near future if I keep this pace up! See you soon!

Saturday, December 8, 2012

Been a long time, been a long time, been a long lonely......

Well, as promised (because I know at least four people are watching!), here is what I'm gonna call my "back to the future" update. Why? Well, because I have been VERY busy with railroad AND band stuff, and will continue to be for the near future. I'm gonna try to do my best to keep things updated though, I promise!

Honestly, I suffer from three reasons why I don't update things much around here - #1 - I'm lazy! #2, I spend all day on a computer at work, and want to work on the layout when I get home, not update my blog!, and #3 - I never remember to take "before and after" pictures of what I DID do!

So without further ado, this blog is going to cover about three months worth of work. Let's get started, shall we?

Let's start with everyone's favorite piece of the layout, the float bridges -


After a sucessful work session back in I believe September, Jay Held, aka the Marine Superintendent, messed with the interface between float bridge and carfloat to assure a smooth, derailment-free action. I'm happy to report that we (and I after a recent 2 night fix-and-repair that I again DID NOT photograph!) have acheived a 90% sucessful ability to do so. Because of the method of construction of the floatbridge apron, the mating of the float-to-bridge interface will never be super-tight and I have found that any remaining car derailments are due to excessive speed or things like tight trucks on cars, or over-scale car door tracks getting caught on the lifting yolkes.
And speaking of cars.........
During the "great storm of '12", aka Sandy, I got to spend 2 weeks at home from work! Once the power came back on (kind of hard to work in a dark basement), I started working on weighing and
re-couplering my carfleet where Ted DiIorio, aka The Sheriff of Bloggingham -http://maparr1943.blogspot.com/2012/11/blog-house-cleaning-or-getting-rid-of.html - 
and Jay Held left off two work sessions ago. As you can see, I got a lot done after a few visits to Home Cheapo for various nuts (for hoppers and gons) and Harbor Freight for some stick on weights (everything else)......


And the end result of over four weeks of almost daily "weighing sessions", was over 200 cars "layout ready" -


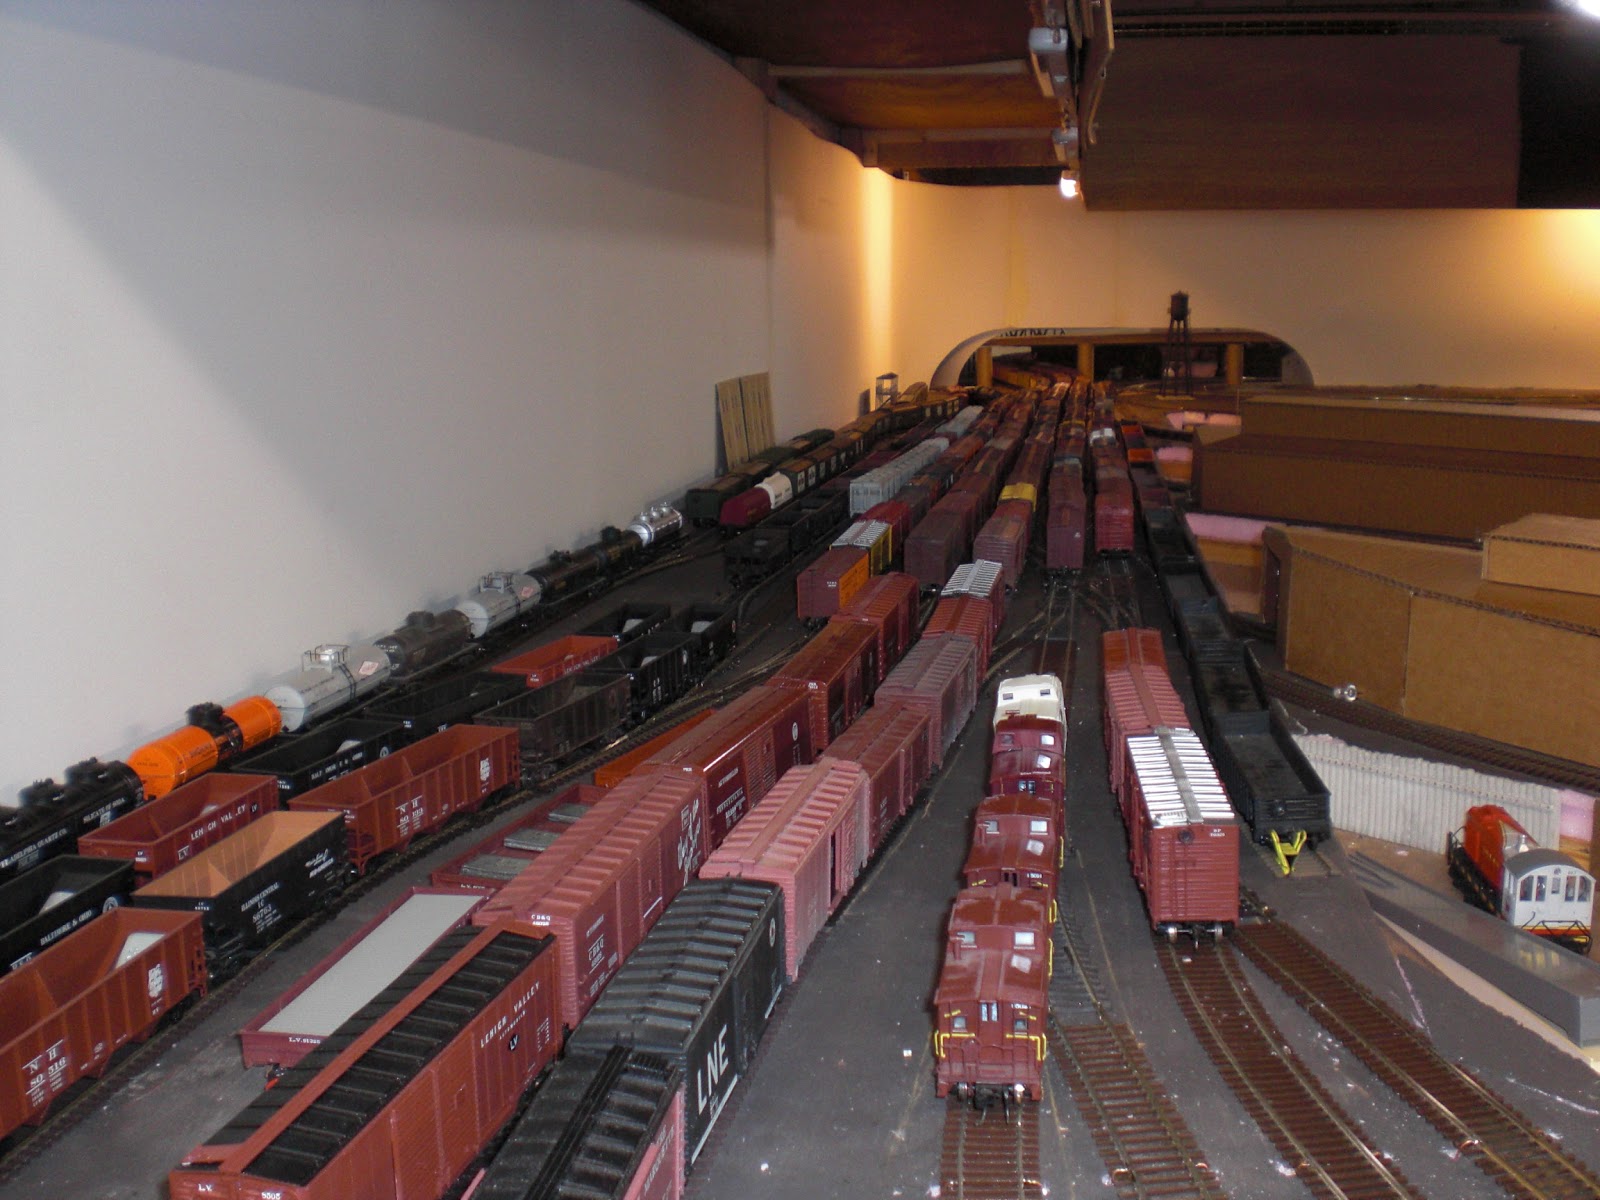
At one point, I lined 98 40ft box cars from one end of the carfloat to the end of track at west (Oak Island) staging.....It was kinda cool to see exactly how long the layout was from end to end! Doing this also let me know what types of cars I was low on (reefers, tank cars and home road cars) or had too many of (50ft box cars).
Another project that was a "big deal" in as far as really achieveing a good overall look, was the installation and rearrangement of lighting around and under the layout. I've had in place for a few years now, some thin, made for under cabinet lighting that I intended to place under the overhead valence doors. I never got very far until the September work session when Dave Ramos and Tom Callan said "let's get it done!" Well needless to say, we didn't have enought to do the whole job, so I sent out my VERY lovely girlfriend to Home Depot to pick up more (in the interim years, better ones became available, so instead of the "no name" ones I had, the new ones are from GE) and then after a  SECOND trip by me before luch to get four more, we now have a nicely highlighted layout, almost shaddowbox in effect -


The effect isn't really shown to full effect in these photos, but along with moving the overhead shop light fluorescents I had hanging in the middle of the isles, It really makes the layout "pop", not to mention making it easier to read car numbers and reporting marks!
And oh yeah, the guys yelled at me for having "flimsy benchwork" (and rightfully so), so we re-did the "backbone" and legs of the west staging, using my favorite layout leg material, PVC pipe - 
So now it can "take a licking and keep on ticking", and the three tracks (3 on each level) can hold the 15 car trains that I have designated as the layout's maximum train length.
One last "improvement" was the addition of waybill boxes along the layout -

 This was an idea "stolen" from Mike Confalone (of Allagash Railway fame). They are sold as "wooden tote bags" at A.C. Moore. All I did was cut off one of the bag "handles", and then I Velcroed them to the layout fascia. Just needs paint and labels.......
And if you're wondering, "is all this leading up to something?", then why yes, it is......


On November 30th, I held my 6th shakedown session. Luckily, each one gets a little better, and I think that next year starting in February, I can start having regular monthly sessions. This year was tough for me in regards to getting things running smoothly, but with a little help from my friends, we got past the hurdle and I saw the proverbial light at the end of the tunnel. Right now, the major mechanical hurdles have been met, and the ones that do remain can be delt with in short order. The major probelm the last two times has been lack of time getting the paperwork done (he funny part being that those who know me call call me "Mr. Paperwork"!) and the layout propperly staged in time for everyone to come over and run the railroad (I always thought that was the easy part, and I envy my friend Dave Ramos for making it look so easy!).  The derailments were minor and the work list has been drawn up on what needs fixing (to be covered in the next blog entry), so I think we're on a roll here to make things happen in a big way in 2013!
So that about wraps it up.....I made my 11:59 December 8th deadline (ha,ha, Ted!), and I hope you guys enjoyed what I've caught you up on (and please excuse the typos, I'm trying to make a deadline here!)......Much more to come in 2013, and maybe even before!
And as Beetlejuice once said.....

Thursday, February 2, 2012

Thoughts On Interesting Proto Paperwork

You want me to fill out what?!? Where?!?


Amongst my friends, I am known as a paperwork "junkie" who gets the biggest kick out of tracking down and buying the most mundane piece of railroad-issued forms and whatnot. Of course, if you ask my girlfriend, she just shakes her head and asks me why I feel the need to buy more dusty old train papers to fill up the basement with. And then of course, there are the model railroaders who find realistic paperwork (and the operations that go along with them) as needlessly boring and "anti-fun"....The common cry of "I work all day, and all I want to do is come home and run my trains, not push paper" is the often heard (and IMO, weak) reply.

Sometimes, in my search for LV or CNJ paperwork, or even other RR's forms for inspiration to design my own for my layouts' ops, I come across paperwork that never, in a million years, could be used to even REMOTELY represent or assist a job or activity on my layout. Not everything can be "scaled down" or even justified for use in realistic operation, since we just don't have to recreate certain activities that the real railroads did (I'm not about to do seat and baggage checks on my passenger trains, are you?!?). After all, there is a limit to what can be simulated on even the most prototypically-operated layouts, and I've operated on some pretty paperwork-centric layouts, let me tell you.

One of my favorite "prototypically useless" forms is the "Nothing to Report" form -

I have nothing, absolutely NOTHING to report! Now let me go back to sleep!

Yes, it's a real form, and I've seen many variations of them, but the point is, there is no need to model this kind of paperwork, no matter HOW realisticaly you like to operate your layout, unless you LIKE to keep your operator friends away, that is...........

But I digress........The reason I wrote this entry today was that I recently came across two LVRR pieces of paper recently that while they certainly fall into the "can't be modeled" category, can still be brought out once in a blue moon just to have fun with. Whats that you say? Paperwork is FUN?!? Why bother going to the trouble? Well hold on to your trainorders there, Negative Nelly, and let me show you.........

Sir, please pull your locomotive over to the siding and show me your FRA Blue Card

OK, I know this is for issuing a citation to trespassers and autos parked where they shouldn't be parked and whatnot, but c'mon, there's no denying you can't have fun with this one with your buddies. It's definitely one of those every once in a blue moon kind of jokes you can pull on one of your crew, or a visitor, just to have fun with. Not convinced? OK, fine, here's another one I found on eBay that can actually be a bit more useful during a session.

Did I just hear the sound of breaking glass?

This is 4x4 card is something akin to "situational cards" that some people like to use on their layout to add "excitement" (not for nuthin', but I find a regular op session has enough excitement with bad DCC decoders, broken turnouts and other such insanity to keep things "exciting"). But if you ARE into that kind of thing, this is perfect. You can go around randomly slapping these on cars to make sure your crews are paying attention while switching. If nothing else, it's another "gag" card to pull out when things are going well (ie: boring) to spice things up little bit. Right now, the LVHTRy operations crew doesn't need any more distractions!

So, I guess my point is, extra paperwork can literally be fun. You can either copy and paste an image (like I did with these) and make multiple paste-ups to copy, or recreate them in Word or Excel (I've done that to for samples that were already filled out, or damaged in some way). Personally, I think I'm gonna bust out the traffic violation card at a session very soon, just to get some good laughs at the expense of someone other than me (for once!)!

"Write" On,

Ralph